Estimated reading time: 9 minutes
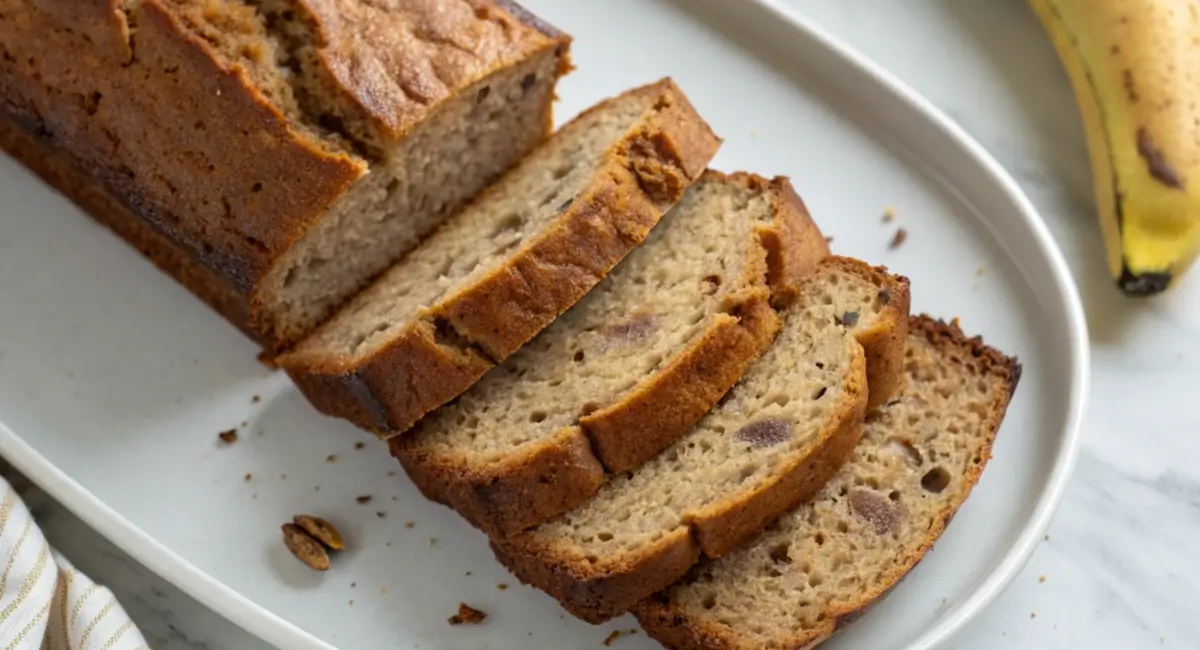
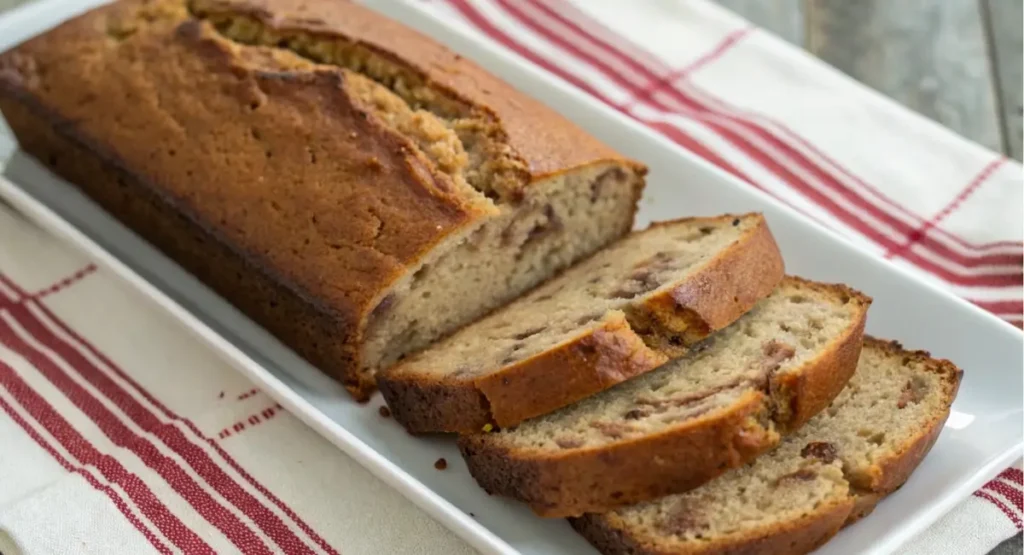
I enjoy fall. The air feels cool, the leaves change beautiful colors, and the food is warm and tasty. Baking has always been my favorite way to celebrate this season. I am trying to make the best gluten free pumpkin banana bread this year. After several attempts (and many delicious “failures”), I’m thrilled to share my tried-and-true recipe with you. This is not just a normal gluten free bread; it is a soft, tasty, and simple recipe you will want to eat repeatedly. Believe me, even your friends who love gluten will be surprised that it is easy gluten free recipe!
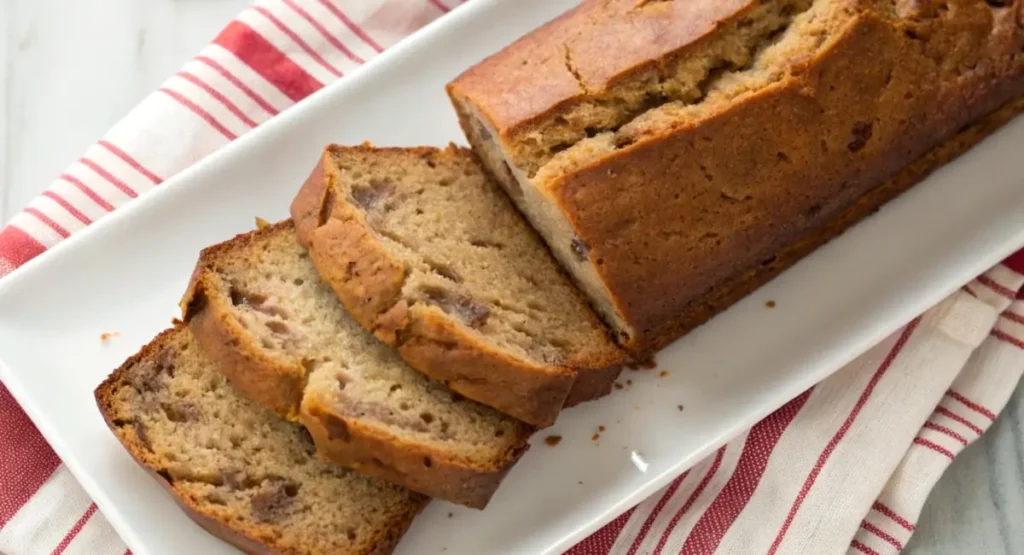
Table of contents
Ingredients to Make Our Gluten-Free Pumpkin Banana Bread:
| Ingredient | Quantity | Note |
| Gluten-Free All-Purpose Flour | 2 cups | Make sure it includes xanthan gum. I used Bob’s Red Mill 1-to-1 |
| Baking Soda | 1 teaspoon | For leavening. Ensure it’s fresh for best results |
| Baking Powder | 1 teaspoon | For leavening and a lighter texture |
| Ground Cinnamon | 1 teaspoon | Adds warm, classic fall flavor |
| Ground Nutmeg | 1/2 teaspoon | A touch of nutmeg enhances the spices |
| Ground Ginger | 1/4 teaspoon | Adds a subtle kick and depth of flavor |
| Salt | 1/2 teaspoon | Balances the sweetness and brings out the flavors |
| Granulated Sugar | 1 cup | Can be adjusted to your preference |
| Light Brown Sugar | 1/2 cup | Adds moisture and a hint of caramel |
| Eggs | 2 large | Provides structure and richness |
| Vegetable Oil | 1/2 cup | Keeps the bread moist. Can substitute with melted coconut oil |
| Mashed Ripe Bananas | 1 cup | About 2-3 medium bananas, mashed well |
| Pumpkin Puree | 1 cup | Not pumpkin pie filling! |
| Vanilla Extract | 1 teaspoon | Enhances all the flavors |
| Optional: Chocolate Chips | 1/2 cup | Add if you like some chocolatey bits |
| Optional: Chopped Walnuts/Pecans | 1/2 cup | For added crunch, if desired |
Kitchen Equipment Needed:
- Large mixing bowl
- Medium mixing bowl
- Measuring cups and spoons
- Whisk
- Spatula
- 9×5 inch loaf pan
- Parchment paper (optional for easier removal)
- Cooling rack
- Oven
Instructions:
- Get Ready to Bake: First, turn your oven on to 350°F (175°C) to warm it up. Next, take a loaf pan that is 9 inches by 5 inches. Put some oil or butter inside the pan to keep the bread from sticking. Then, use a piece of parchment paper to line the pan. Make sure the paper hangs over the sides a little bit. This makes it easier to remove the bread later!
- Combine Dry Ingredients: In a big bowl for mixing, whisk together the gluten free flour, baking soda, baking powder, cinnamon, nutmeg, ginger, and salt.
- Blend Wet Ingredients: In a medium bowl, Use a whisk to thoroughly combine the granulated sugar, brown sugar, eggs, and vegetable oil until everything is well mixed. Then, add the mashed bananas, pumpkin puree, and vanilla extract. Stir until everything is smoothly combined.
- Combine Wet and Dry: Pour the wet ingredients into the bowl with the dry ingredients. Use a spatula or a wooden spoon to mix everything until it is combined gently. Be careful not to mix too much, as this will make the bread hard. It’s fine if you still see a little bit of flour! If you want to add chocolate chips or nuts, do that now.
- Bake: Pour the batter carefully into the prepared loaf pan. Use a spatula to smooth the top until it is flat. Put the loaf pan in the oven that has been heated up and bake it for 50 to 60 minutes. After 50 minutes, you can check if it’s done by sticking a wooden stick in the middle. If the stick comes out clean, the loaf is ready. If it doesn’t, it may need a little more time in the oven.
Tips and Tricks:
- Ripe Bananas are Key: Use very ripe bananas for the best flavor and moisture. The browner, the better!
- Don’t Overmix: Overmixing develops the gluten in the flour (even gluten-free flour!), leading to tough bread. Mix just until combined.
- Check for Doneness: Every oven works a little differently, so it’s important to check if the bread is cooked properly. Utilize a wooden stick as a probe to assess the condition effectively. If the stick comes out with wet dough on it, the bread needs more time to bake. If it comes out with a few small crumbs that are still a bit moist, then the bread is just right.
- Room Temperature Ingredients: Using room temperature eggs and other wet ingredients helps ensure everything combines smoothly.
- Add a touch of Extra Spice: For a more intense flavor, consider adding an extra 1/4 teaspoon of cinnamon or a pinch of cardamom.
- Chocolate Chip Variation: Consider adding different types of chocolate chip for a richer flavor profile. Dark Chocolate, White Chocolate, or a mix of semi-sweet and dark chocolate.
- Freezing: This bread freezes very well. First, cut it into slices. Then, wrap each slice tightly with plastic wrap. After that, put the wrapped slices in a freezer bag. You can keep it in the freezer for up to 3 months.
Gluten-Free Pumpkin Banana Bread Serving Suggestions:
- Warm Slice with Butter: The simplest way to enjoy this bread is to warm it slightly with a pat of butter. It’s pure comfort!
- Toasted with Nut Butter: Toast a slice of bread and put your favorite nut butter on it. This makes a healthy snack or breakfast with lots of protein.
- Alongside Tea or Coffee: This bread is an excellent match for a warm cup of tea or coffee, especially on a chilly autumn morning.
- Dessert with a Dollop of Cream: A small amount of whipped cream or a scoop of vanilla ice cream makes this bread a tasty dessert.
- French Toast: Try dipping slices of this bread in an egg mixture and pan-frying them for a decadent French toast.
- As a Gift: Wrap a loaf in a nice ribbon and present it as a gift to friends, family, or neighbors – they’ll love you for it!
Nutritional Information:
- Calories: Approximately 280
- Fat: 13g
- Saturated Fat: 2g
- Cholesterol: 40mg
- Sodium: 220mg
- Carbohydrates: 38g
- Fiber: 2g
- Sugar: 18g
- Protein: 4g
Note: Remember, nutritional information serves as an estimate and may inspire you to explore the wonderful variations in the specific ingredients you choose.
Variations or Alternatives:
- Make it Better: Add a little bit of cloves, cardamom, or allspice to give more flavor to your dish.
- Nutty Twist: Use different nuts, like chopped pecans or almonds, instead of walnuts.
- Seed Options: Add seeds like pumpkin seeds or sunflower seeds for a bit of added texture.
- Maple Syrup: Swap some of the white sugar for maple syrup for a different sweetness profile.
- Chocolate Swirl: Carefully mix melted chocolate into the cake mixture before baking to create a nice swirled pattern.
- Mini Loaves: Bake the batter in mini loaf pans for cute individual portions – perfect for gift giving!
- Muffins: Pour the batter into muffin cups for easy-to-grab treats. Bake for 20-25 minutes or until the top turns a nice golden brown color. You can check if it’s done by sticking a toothpick into the middle. If the toothpick is dry and clean when you take it out, the dish is ready to eat!
Conclusion:
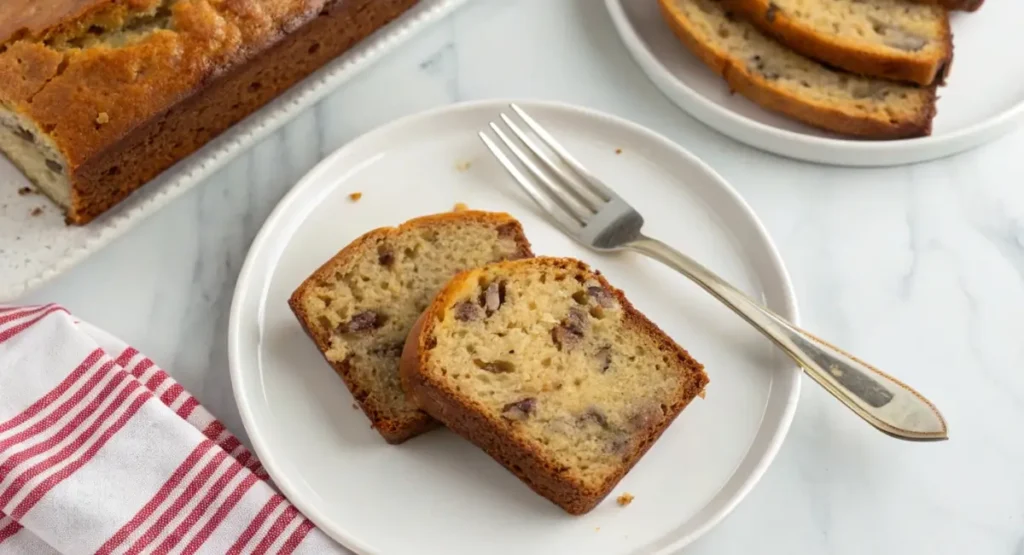
This recipe for pumpkin banana bread is gluten free, which means it doesn’t have any wheat. It is very tasty and easy to make. It has wonderful fall flavors and is very moist. Even if you don’t need to eat gluten free, you should try this recipe. My family loves it, and I think yours will too! You will want to make it over and over again.
Key Takeaways:
- This recipe is easy to make and only requires basic ingredients.
- Ripe bananas and pumpkin puree are essential for moisture and flavor.
- Don’t overmix the batter for the best texture.
- This bread is delicious on its own, toasted, or as a dessert.
FAQ Section :
1. Can I substitute pumpkin pie filling for pumpkin puree?
No, pumpkin pie filling is already sweetened and spiced, which will throw off the recipe’s balance. You need to use 100% pure pumpkin puree.
2. Can I use a different type of oil?
You can substitute vegetable oil with either melted coconut oil or canola oil.
3. Can I freeze this bread?
This bread can be frozen easily. First, wrap it up tight in plastic wrap. Then, put it in a freezer bag. It will stay good for up to three months.
4. Can I add other fruits?
Yes! Blueberries or chopped apples would be great additions.
5. How do I know if the bread is fully baked?
Place a wooden skewer in the middle. If it emerges clean, the bread is finished. If it has wet batter on it, it requires additional time.
Who Should Skip This Recipe?
While this recipe is a delightful treat for many, it might not be suitable for everyone. Here’s a lighthearted guide on who might want to skip this particular recipe:
- Those on a Grain-Free Diet: If you are strictly avoiding all grains, including gluten-free ones, this recipe won’t be the best choice for you. But don’t worry; there are plenty of amazing grain-free recipes out there for you to explore!
- Those Following a Very Low-Carb Diet: Given the combination of bananas, pumpkin, and sugars, this bread is relatively high in carbs. If you’re on a strict low-carb or ketogenic diet, it might not fit within your dietary goals. Perhaps some avocado based desserts may be better for you.
- Those with Egg Allergies: As eggs are essential for structure in this recipe, those with egg allergies should consider another recipe. However, there are plenty of egg-free alternatives to try.
- People on a Diet with no added Sugar: There is added sugar for this recipe so if you are on a no sugar diet this recipe won’t be for you. There are plenty of recipes out there without added sugar, such as ones that use natural sugar from fruits or dates.
Remember, baking is all about enjoying the process and experimenting to find what best suits your needs and tastes.
What Do You Think?
I’m so excited for you to try my gluten-free pumpkin banana bread recipe! I know it has truly become a staple for me when the fall season arrives. Have you ever tried this bread? What is your favorite way to serve it or to enjoy it? Don’t hesitate to leave a comment below with your thoughts, questions, or any variations you try. If you enjoy this, you might like my [other recipe blog post] (link to another relevant recipe)! Happy Baking!
My Personal Touch?
Making gluten free pumpkin banana bread has become a special tradition in my home during the fall. The nice smell of cinnamon, nutmeg, and sweet banana fills the kitchen and makes it feel warm and cozy. At first, it was hard to get the bread just right. Some of my early tries were too sticky or too dry. I learned that using parchment paper is very important so the loaves do not stick! Now that I have the recipe just right, I am happy to share it. I hope it brings as much happiness to your kitchen as it does to mine!
Did You Make This Recipe!
There are no reviews yet. Be the first one to write one.

