Estimated reading time: 8 minutes
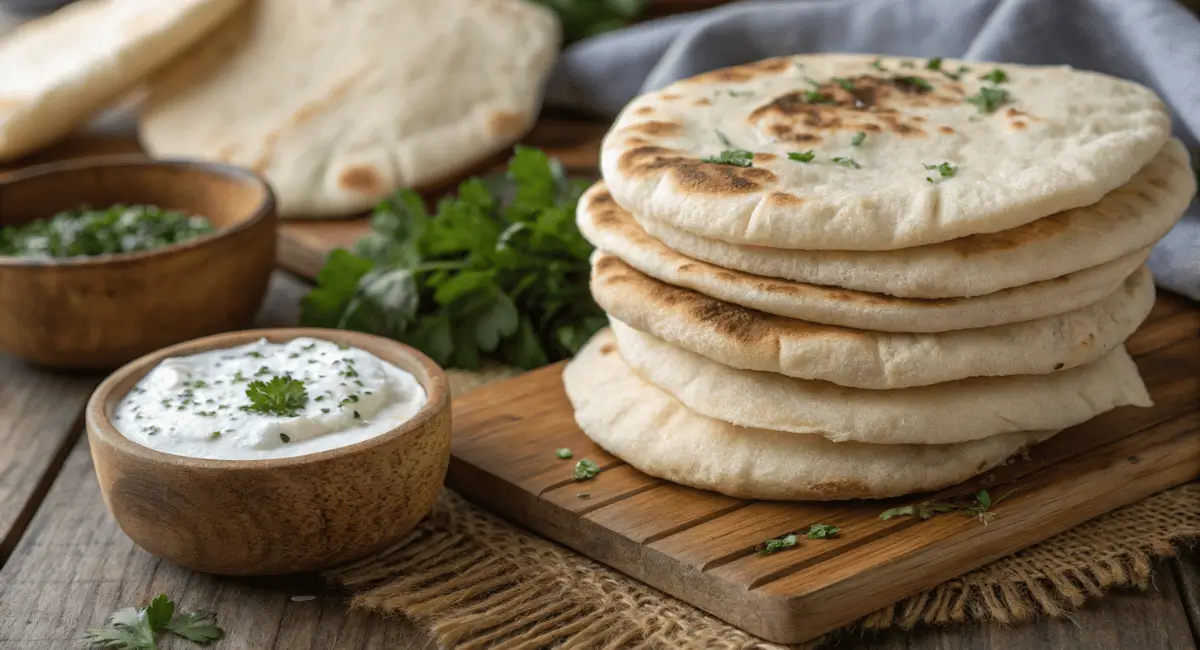
Ah, the humble pita pocket. It’s more than just a bread; it’s a vessel for deliciousness, a blank canvas for your culinary creations. I’ve always loved the soft, pillowy texture and the satisfying way a freshly baked pita puffs up, ready to be filled with all sorts of goodies. There’s something truly special about making your own pita bread, and I’m here to share my foolproof recipe for creating the perfect pita pockets at home. Get ready to enjoy the warm, fragrant aroma wafting from your kitchen and the sheer joy of biting into a homemade pita.
Table of contents
Ingredients to Make Our Pita Pocket
Here’s what you’ll need to make about 6 delicious pita pockets. I’ve laid it out in a table for easy reference:
| Ingredient | Quantity | Note |
| All-Purpose Flour | 3 cups (375 grams) | You can also use bread flour for a chewier texture. |
| Warm Water | 1 ¼ cups (300 ml) | Lukewarm to the touch, not hot! |
| Active Dry Yeast | 2 ¼ teaspoons | Or 7 grams, make sure it’s fresh for best results. |
| Granulated Sugar | 1 teaspoon | This feeds the yeast and helps with browning. |
| Salt | 1 ½ teaspoons | Adds flavor and controls the yeast. |
| Olive Oil | 2 tablespoons | Adds flavor and makes the dough smooth and pliable. |
Kitchen Equipment Needed
To ensure our pita bread recipe success, make sure you have the following equipment ready:
- Large Mixing Bowl
- Measuring Cups and Spoons
- Clean Kitchen Towel
- Rolling Pin
- Baking Sheet or Pizza Stone
- Oven
- Wire Rack for cooling
Quote
“Making your own pita bread is an incredibly rewarding experience. The aroma alone is enough to lift your spirits, and the taste of fresh, homemade pita pockets is simply unmatched.”
Step-by-Step Pita Pocket Recipe
Total Time: 10 minutes
Activate Yeast
To activate the yeast, combine warm water (ideally at around 100-110°F), sugar, and your chosen yeast strain. Allow the mixture to rest undisturbed for approximately 5 minutes, observing for a frothy cap to indicate successful fermentation activity.
Make Dough
Combine flour and salt, then add yeast mixture and olive oil. Knead for 8–10 minutes until smooth.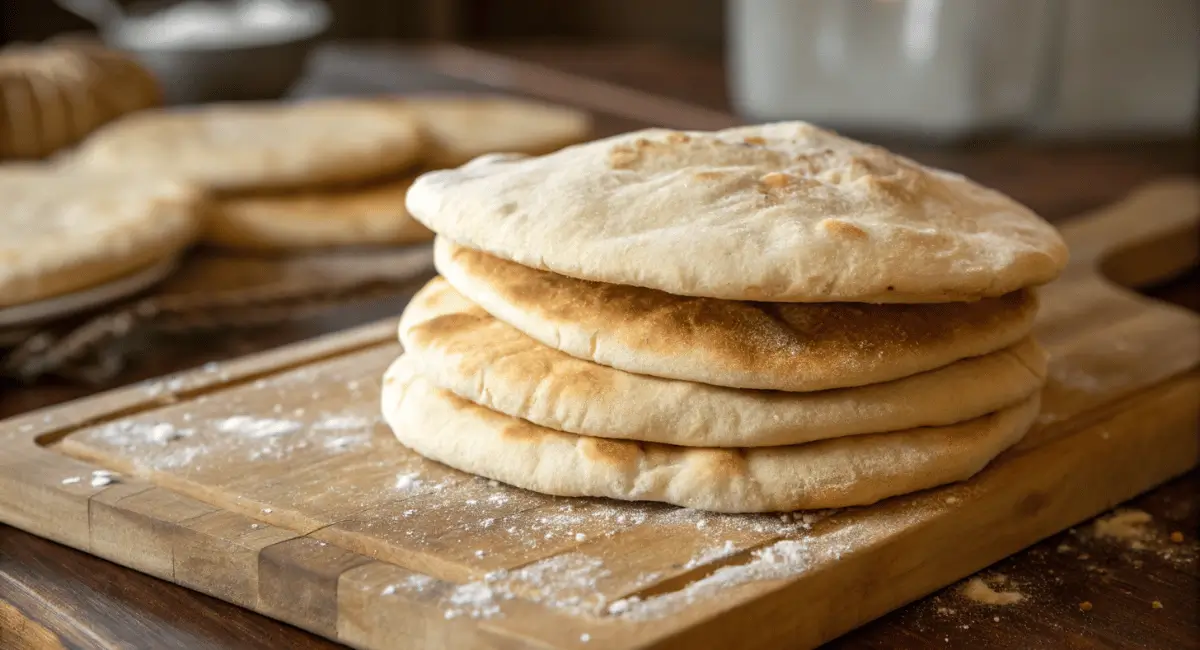
Let It Rise
Allow the dough to proof under a covering until its volume has approximately doubled, which should take around 60 minutes.
Shape Pitas
Portion the dough into 8 equal pieces. Form each piece into a spherical shape, then roll it out to achieve a uniform thickness of ¼ inch, creating circular rounds suitable for pita.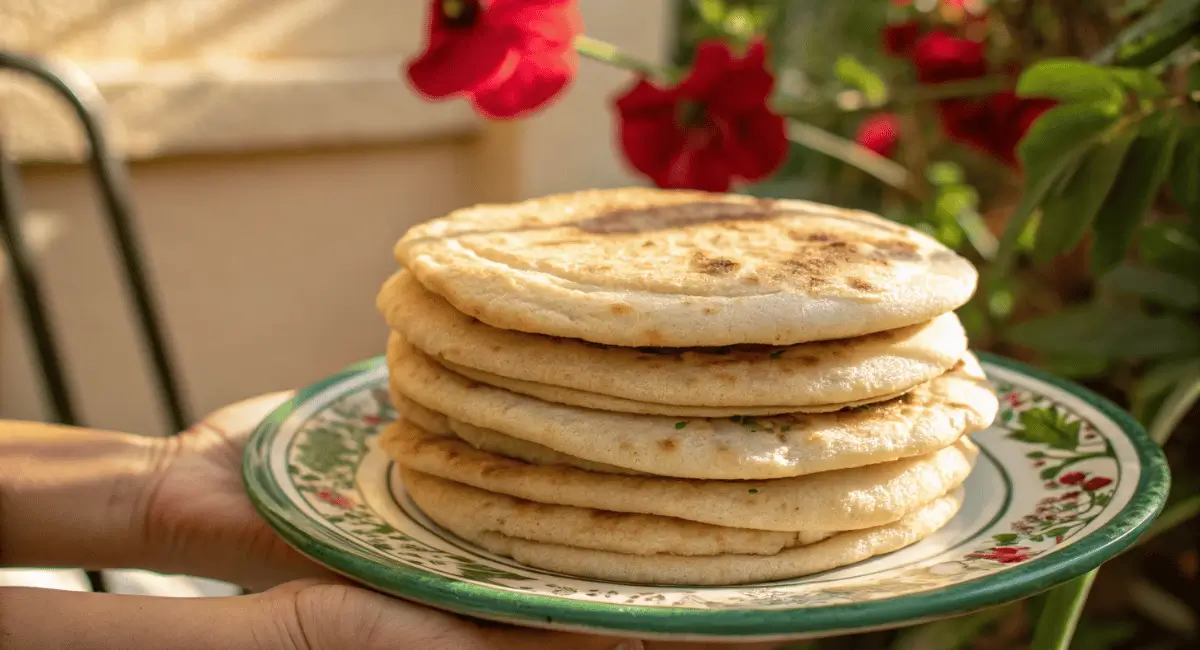
Bake Puffiness
Preheat the oven to 475°F (245°C). Bake for 3 to 4 minutes until the pastry develops significant puffing, creating air pockets resembling inflated balloons.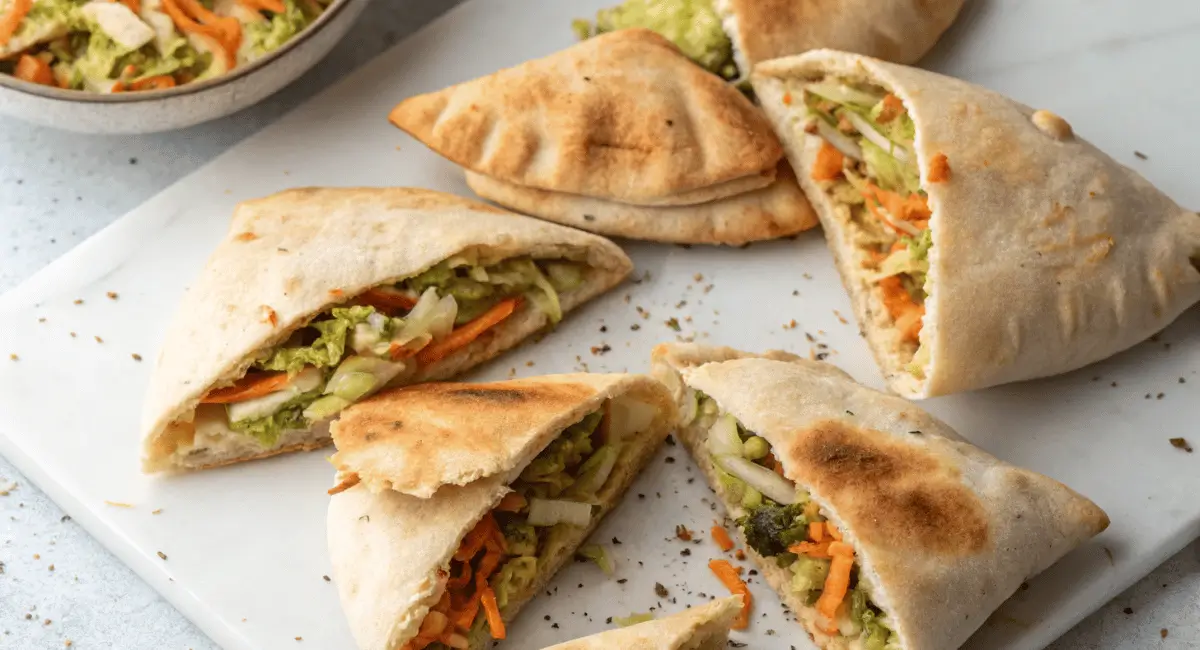
Tips and Tricks for Perfect Pita Pocket
Here are a few tips to help you master the art of making pita bread:
- Warm Water is Key: Make sure the water is warm, not hot. Hot water can hurt the yeast, and cold water will make it slow down.
- Don’t Over-Knead: Kneading for too long can make your pita pockets tough. 8-10 minutes is usually perfect.
- Let it Rise: Make sure the dough rises properly. A warm environment is best for proofing.
- Hot Oven is Essential: A hot oven and preheated baking sheet or pizza stone are crucial for the pitas to puff up correctly.
- Don’t Overbake: They should be slightly golden and soft, not crispy or hard.
- Roll Evenly: Aim for an even thickness when rolling them out. This helps them puff up evenly in the oven.
- Practice Makes Perfect: Don’t get discouraged if your first attempt isn’t perfect, just keep practicing, and you’ll get the hang of it.
Pita Pocket Serving Suggestions
The beauty of a pita pocket is its versatility. Here are some ideas for filling your freshly baked creations:
- Classic Falafel: Stuff them with falafel, hummus, tahini sauce, and fresh veggies for a delicious Mediterranean meal.
- Greek Gyro: Fill with seasoned lamb or chicken, tzatziki sauce, tomatoes, and onions.
- Chicken Shawarma: Marinated grilled chicken, garlic sauce, pickles, and a sprinkle of parsley.
- Vegetarian Delight: Roasted vegetables like bell peppers, eggplant, and zucchini with feta cheese and a drizzle of balsamic glaze.
- Breakfast Pita: Scrambled eggs, spinach, and cheese for a quick breakfast.
- Lunchtime Favorite: Tuna salad, sliced tomatoes, and crisp lettuce.
Nutritional Information (Estimate)
Please remember this: The nutritional information is only an estimate and can change depending on the specific ingredients you use.
Per Pita Pocket:
- Calories: Approximately 200-250
- Carbohydrates: 40-50g
- Protein: 5-7g
- Fat: 3-5g
Variations and Alternatives for Your Pita Bread
- Whole Wheat Pita: Use half whole wheat flour and half all-purpose flour. This change gives your food a nuttier taste and more fiber, which is good for you.
- Herbed Pita: Put 1 or 2 spoonfuls of dried herbs like oregano, thyme, or rosemary into the dough to give it more flavor.
- Garlic Pita: Brush the baked pita pockets with garlic butter for a delicious twist.
- Gluten-Free: This recipe is not gluten free, but you can use gluten-free all-purpose flour to make it gluten-free. The results might be different, so you can search online for a gluten-free pita recipe for better results.
Conclusion
Making your own pita pockets at home is a wonderful experience. From the satisfying process of kneading the dough to the joy of seeing them puff up in the oven, it’s a journey worth taking. Whether you’re filling them with falafel, gyro meat, or your favorite veggies, homemade pita bread is the perfect base for a delicious meal. This simple pita recipe is a great starting point for all your pita pockets adventures!
Key Takeaways:
- Freshly baked pita pockets taste amazing.
- This pita recipe is easy and straightforward.
- Homemade pita bread is a versatile base for countless meals.
- Feel free to try out different tastes and stuff inside your food.
- The process is as rewarding as the delicious results.
FAQ Section
My pita didn’t puff up, what did I do wrong?
Make sure your oven is hot enough and that the baking sheet or pizza stone is preheated. Also, make sure your dough is rolled to an even thickness.
Can I freeze the dough?
Yes, you can freeze the dough after the first rise. Defrost in the fridge overnight, then shape and bake.
How long can I store baked pita?
Keep the food in a container that closes tightly at room temperature for 2 to 3 days. If you want to keep it longer, you can put it in the freezer.
Can I make this dough in a bread maker?
Utilize the dough setting on your bread maker, and take the dough out after the first rise to shape it.
Can I use a different type of flour?
You can utilize bread flour for a chewier texture or whole wheat flour for added fiber and flavor.
Who Should Skip This Pita Pocket Recipe!
Okay, let’s be real – not every recipe is for everyone, and that’s totally fine! If any of the following apply to you, you might want to explore other bread options:
- Gluten Sensitivity or Celiac Disease: This recipe uses wheat flour, which is a big no-no if you’re avoiding gluten. Don’t worry though; there are some fabulous gluten-free bread recipes out there, we promise!
- Low-Carb or Keto Dieters: Pita bread is pretty carb-heavy, so it’s probably not the best fit for your diet. But hey, there are many low-carb bread alternatives that are delicious.
- Strictly Sodium-Restricted Diets: While this recipe doesn’t call for an excessive amount of salt, it does contain some. If you’re on a very strict low-sodium diet, you might want to adjust the amount of salt in the recipe or consider an alternative.
- Those with Yeast Allergies: The recipe relies on yeast, so if you are allergic to it, you’ll need to find a yeast-free bread alternative.
- Beginner Bakers Who Want Something Super Quick: This recipe is quite simple but does take time to proof. If you’re after something super fast and easy, there might be some simpler recipes better suited for you.
Don’t fret; there are so many other amazing recipes that will suit your needs!
What Do You Think?
I’m so excited for you to try making these homemade pita pockets! Once you’ve made this recipe, tell me, what fillings are you going to use in your pita bread? Or if you have questions about the recipe, please let me know in the comment section below. I love hearing from you!
My Personal Touch
I’ll never forget the first time I made pita pockets. I nervously watched the oven, praying they’d puff—and when they did, I danced around my kitchen! Now, I make them weekly. Trust me: once you go homemade, there’s no going back.
Did You Make This Recipe!
There are no reviews yet. Be the first one to write one.

